Are you sad that Santa didn’t get you that phone-controlled quadcopter that you wanted for Christmas?
How about building your own?
It is not as difficult as it seems, in Coconauts we will show you how to do it. Or at least, we’ll show you how to get started with building a small Bluetooth controlled device.
| Description | Materials |
|---|---|
|
In this tutorial we will create the simplest ever mobile controlled hellicopter.
It will feature an Arduino attached to a motor, that will be listening for speed values
over a Bluetooth channel. Depending on the speed value received, our Aduino program
will vary the the rotation speed of the motor accordingly.
On the other side of the Bluetooth channel, sending the speed values, will be an Android app, that will feature a graphic interface with a slide to select the desired values. |
Difficulty |
Here is a video demostrating the usage of the whole setup:
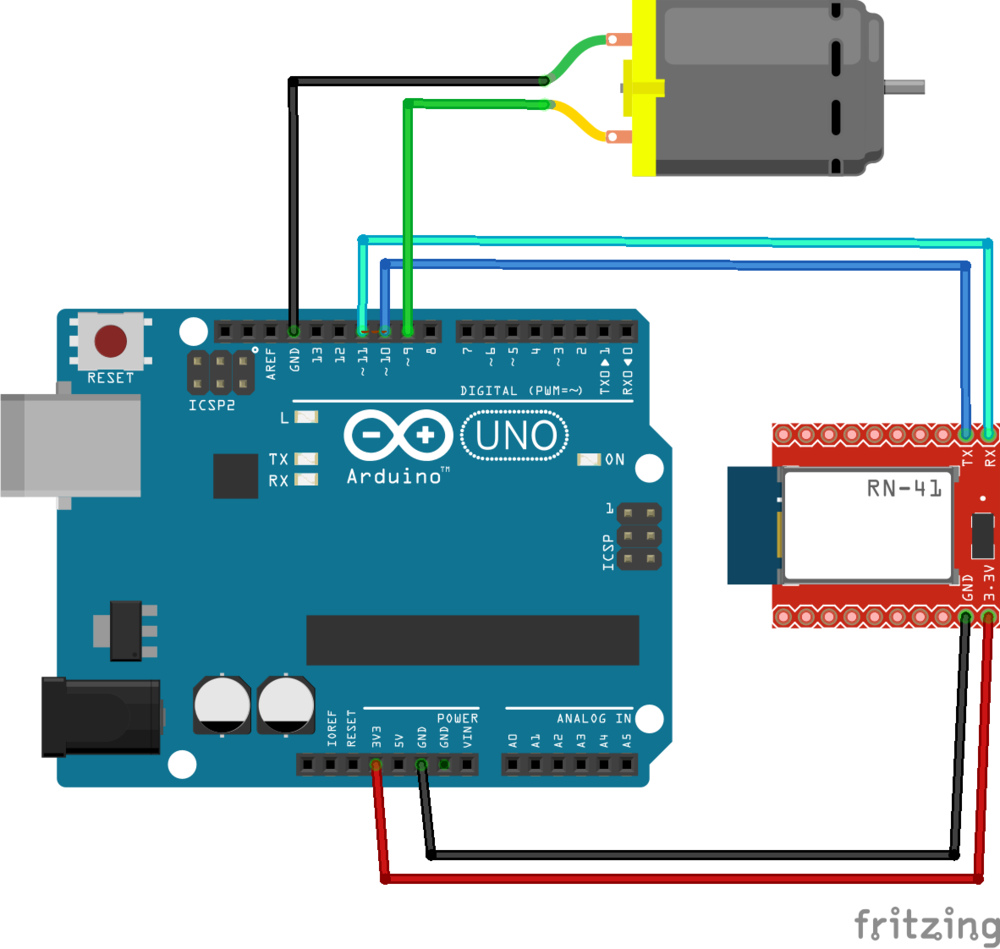
Schema
First of all, connect your Arduino to your DC motor and the HC-06 module as indicated by the schema.
Only 3 digital pins are required in this simple project. Pins for the DC motor are exchangeable, but do not mix TX and RX for the Bluetooth module.
Arduino code
Then, upload the following code to your Arduino (also available here).
1 2 3 4 5 6 7 8 9 10 11 12 13 14 15 16 17 18 19 20 21 22 23 24 25 26 27 28 29 30 31 32 33 34 35 36 37 38 39 40 41 42 43 44 45 46 47 48 49 50 51 52 53 54 55 56 57 58 59 | |
We are using the SoftwareSerial library for receiving Bluetooth messages.
On the setup we hook it to the serial connection using a 9600 baud rate, and then we can read and write from it in a file-handle fashion.
The code inside the loop will read the data coming from Bluetooth one character at a time, and it will append all received characters to a string buffer, until we reach EOT (End Of Transmission, ASCII character number 3).
Then the numeric value of the string will be converted using sscanf and passed to the motor’s pin as a analog value using analogWrite.
However, when you first run this code, it will keep waiting until the other end of the transmission is connected. If you are you are using a Bluetooth board equipped with a LED, like this one:
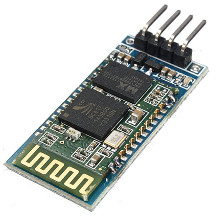
then the LED will start blinking (that means is not connected yet). So lets fix this.
Connecting Bluetooth to Android
Before you start toying with the Android app, you first need to connect your Bluetooth device and your Android.
In order to do so, and test that your Bluetooth module is working properly, go to the Bluetooth manager screen in your Android device, and enable it if it’s not enabled.
If you now search for devices, you should see our friend HC-06. click on it and follow the steps until it gets paired.
Android app
Now is time to run the Android app. Our code is making use of the very known BluetoothService class from Bluetooth chat example, with a few tiny modifications to allow HC-06 and EOT ending character.
The full code for the Android app is available here. If you feel brave enough, you can import our app from gradle, build and upload the app to your phone, or you can cheat and directly grab a version we conveniently uploaded to the Play Store.
The moment you open the app, a Bluetooh connection shoud be stablished with the paired HC-06 (at this point, if your HC-06 module is LED-equipped, it should not blink anymore). If you loose the connection there is a button for reconnecting on the interface.
Congratulations, your Bluetooth app is set. You can now togge the slider on the android app, and inmediately see how the motor rotates at different speeds, as shown in the video.